My best outdoor shots didn’t come from hard hikes.
They came from a short loop at a nearby park, on a cloudy Tuesday morning, with nothing but my phone and a granola bar.
Walking with a camera gives the walk a purpose, which is half the reason I keep going out.
If you’ve been putting off hiking because it sounds like a production, or because you think you need a proper camera to bother, this is for you.
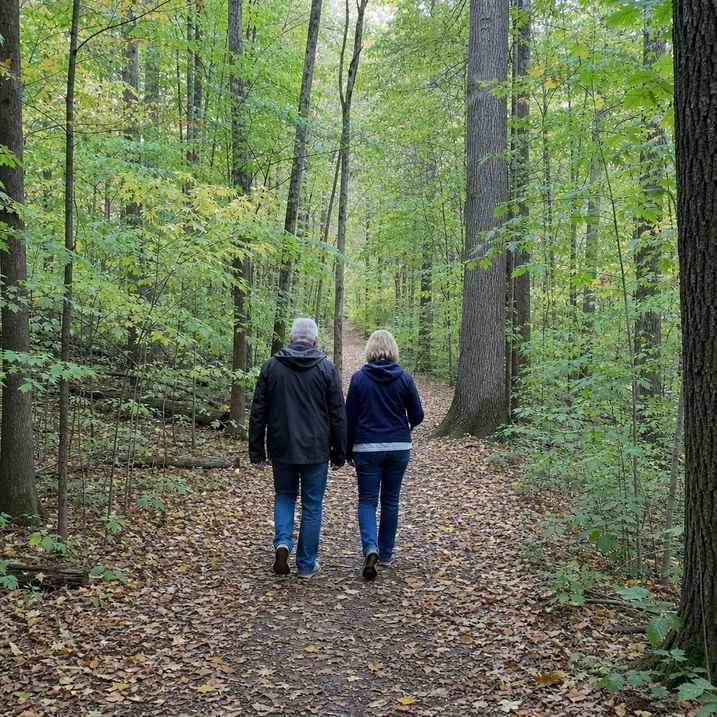
Start With a Short, Easy Trail

You don’t need distance. You need good light and a reason to stop.
I aim for trails under two miles when I’m going out to shoot. Shorter loops mean I can slow down, double back, and linger at a spot that catches my eye without rushing back to the car.
Pick a trail you can comfortably walk in under an hour. That’s enough time for real shooting and none of the fatigue that makes you rush past good scenes.
If you’re new to hiking at all, there’s solid practical advice in this beginner hiking guide before you head out.
One honest note: pay attention to your own fitness and the trail conditions on the day. This isn’t medical advice, and what’s easy for one person isn’t for another. Check local trail reports and go at your own pace.
Plan Around the Light, Not the Distance
Overcast mornings are often the best days to shoot outdoors.
Bright midday sun blows out the highlights, flattens shadows, and makes everything look a little harsh. Cloud cover acts like a giant softbox. Colors read truer, and the scene has a natural calm to it.
Soft, flat light is forgiving, which is exactly what beginners need.
The other option is the first or last hour of daylight. The sun is low, shadows get long, and even an ordinary path through the trees looks more interesting.
The light does the heavy lifting. Your job is just to show up while it’s doing something worth capturing.
If the idea of early-morning shooting appeals to you, I found a way to catch that golden window without the painful 4am alarm.
What to Look For on the Trail
Once you’re out there, slow down.
Most people take a shot, then walk on. The better habit is to stop, look around from where you’re standing, and give yourself thirty seconds before you shoot.
Look for lines that pull the eye in. A trail winding away from you, a stream cutting across the frame, a line of trees leading to something in the distance. These give a photo depth that a flat snapshot of a field doesn’t have.
Also watch for:
- Foreground interest: a rock, a cluster of leaves, or a fallen branch close to your feet can anchor a landscape that would otherwise feel empty
- Natural frames: two tree trunks flanking a distant view, or an overhanging branch across the top of the frame
- Light catching something small: a wet leaf, a spider’s web, a patch of moss in a shaft of light
None of that requires a trail. It’s the same instinct I use in general outdoor photography, whether I’m in a park or a forest.
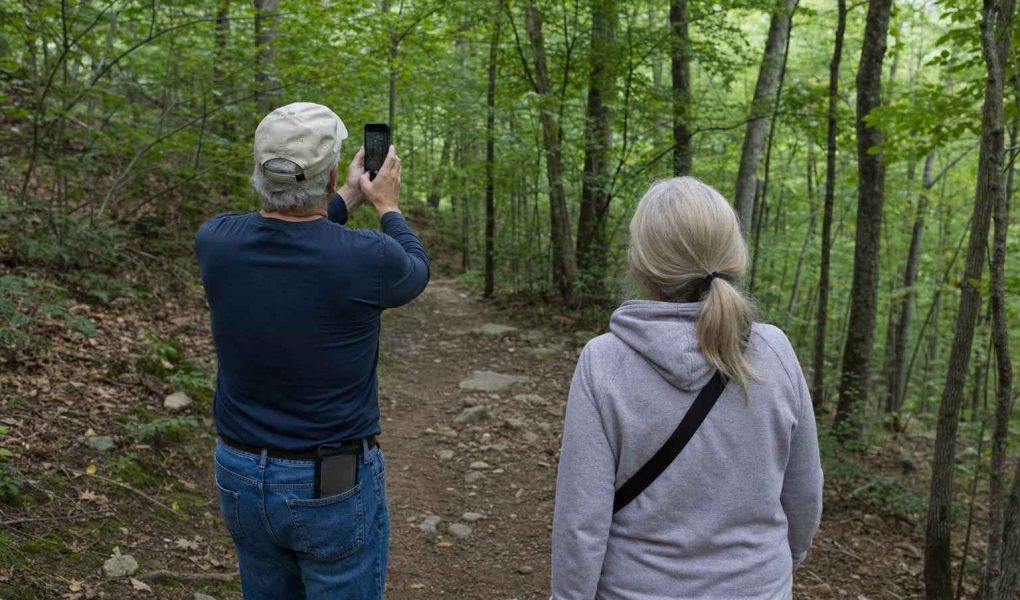
Shoot Without Heavy Gear
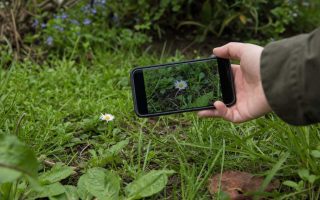
The phone you already have is the right tool for this.
I carry mine in a jacket pocket. No bag, no tripod, no extra lenses on short hikes. The whole point is that it’s easy enough that I actually go.
The best camera for outdoor photography is the phone you already carry, and technique beats gear.
A few habits that make phone shooting better on the trail:
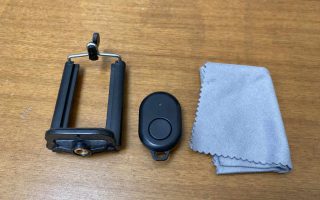
- Wipe the lens before you start. A phone that’s been in your pocket has a smeared lens, and that smear turns bright outdoor scenes hazy.
- Tap the brightest part of the scene to lock exposure, then pull the slider down slightly so the colors stay rich instead of washed out.
- Turn on your camera’s grid. Place the horizon on the top or bottom third of the frame, not dead center.
- Before you tap the shutter, take one small step sideways. Moving a few feet changes the background and often cleans up what’s behind your subject.
You don’t need to borrow or rent anything for a short outing like this. If you decide later that you want a tiny phone mount to cut down on shake, that’s an inexpensive addition. But it’s not where I’d start.
Come Home With Photos You Wanted
The combination of an easy walk and a phone in your pocket is underrated.
Short trails, soft light, and a habit of slowing down before you shoot: that’s the whole system. You don’t need to be fit for a mountain or own a camera that costs more than a plane ticket.
Go out, look for a line or a patch of light, and stay a little longer than feels necessary. That’s usually when the photo happens.